
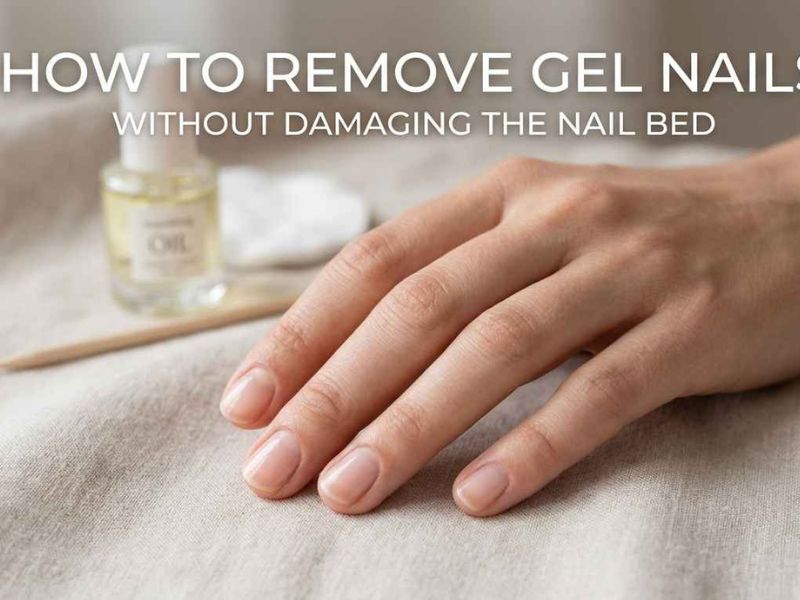
Gel nails look great and last a long time, but taking them off the wrong way can leave your nails thin, sore, and peeling. Most damage happens when people pick, peel, or scrape gel off too fast.
This guide explains how to remove gel nails without damaging nail bed using safe, simple steps you can do at home. You’ll also learn what tools matter, what mistakes to avoid, and how to care for your nails afterward so they stay strong.
Why Gel Removal Can Damage The Nail Bed?
Your nail bed is the skin under the nail plate. When gel is peeled off, it usually pulls layers of the nail plate with it. That can expose sensitive areas and make nails feel raw or tender.
The goal is to break down the gel with acetone and remove it gently—never force it. If you do it patiently, you can remove gel nails without damaging nail bed and keep your natural nails healthy.
Read More: What Nail Colors Go with Every Skin Tone? Nail Shades That Flatter Everyone
What You’ll Need Before You Start
You don’t need a fancy kit, but using the right basics makes a big difference.
Simple Supplies Checklist
| Item | Why you need it |
|---|---|
| 100% acetone | Breaks down gel so it lifts safely |
| Nail file (180 grit) | Removes shine/top coat so acetone can work |
| Cotton balls or cotton pads | Holds acetone against the gel |
| Aluminum foil (or nail clips) | Keeps cotton in place and traps heat |
| Cuticle pusher (wood or silicone) | Gently nudges softened gel off |
| Buffer (optional) | Smooths small leftover patches |
| Cuticle oil + hand cream | Rehydrates nails and skin after removal |
| Petroleum jelly (optional) | Protects skin around nails from acetone |
How To Remove Gel Nails Without Damaging Nail Bed (Step By Step)?
This is the safest at-home method for most people.
Step 1: Wash Hands And Protect Your Skin
Wash your hands and dry them well. If your skin gets irritated easily, apply a thin layer of petroleum jelly around the cuticles (not on top of the gel). This helps reduce dryness from acetone.
Step 2: File The Top Coat Gently
Use a nail file to remove the shiny top layer of gel. This step is important because it lets acetone soak through faster.
File until the shine is gone, but do not file down to your natural nail. Slow and light pressure is safer than trying to speed through it.
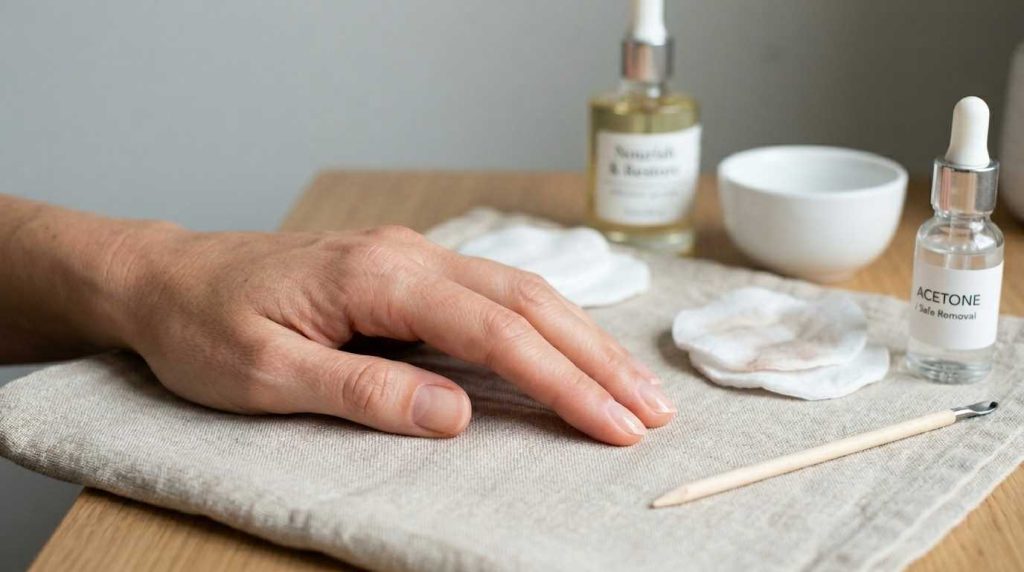
Step 3: Soak With Acetone Using Cotton And Foil
Soak a cotton ball/pad with 100% acetone, place it on the nail, and wrap the fingertip with foil (or use nail clips).
Let it sit for 10–15 minutes. Keep your hands still so the cotton stays in full contact with the gel.
Step 4: Check One Nail First
After 10–15 minutes, unwrap one nail and check it. The gel should look lifted, wrinkled, or flaky.
If it still looks smooth and hard, rewrap and wait another 5 minutes. Rushing here is what leads to scraping and damage.
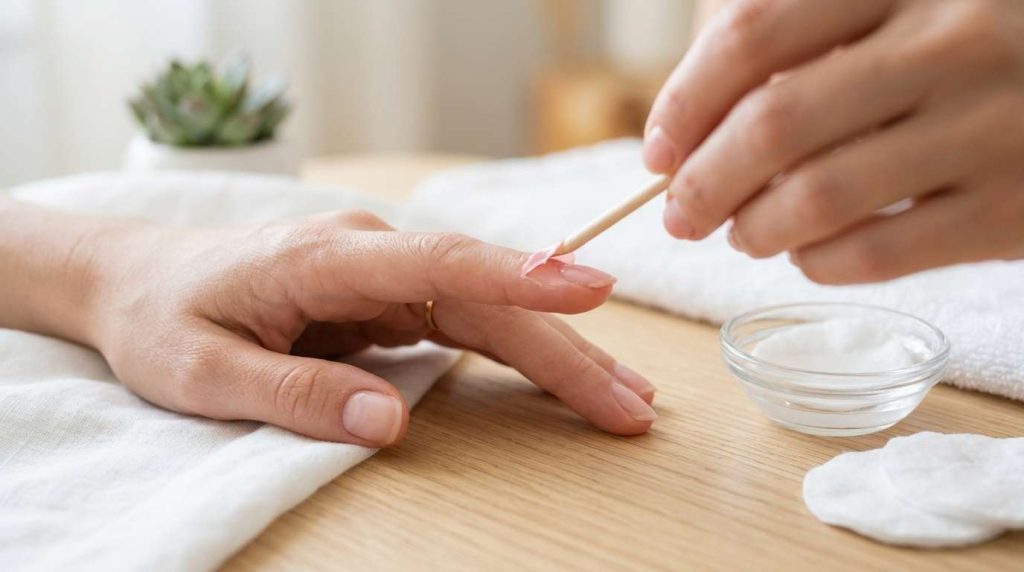
Step 5: Gently Push Off The Softened Gel
Using a wooden stick or soft cuticle pusher, gently push the gel off from the cuticle area toward the tip.
If any area resists or feels stuck, stop. Re-soak that nail for 5–10 minutes and try again. This is the most important rule for how to remove gel nails without damaging nail bed.
Step 6: Light Buff Only If Needed
If you have tiny leftover patches, lightly buff them. Do not aggressively file your natural nail “to make it perfect.” A little leftover product is safer than over-filing.
Step 7: Wash Hands And Rehydrate
Wash your hands to remove acetone and residue. Then apply cuticle oil and a rich hand cream. Reapply oil a few times that day—your nails and skin will drink it up.
How Long Does Gel Removal Take?
The timing depends on how thick the gel is and whether it’s builder gel or hard gel.
| Gel type | Typical removal time at home | Notes |
|---|---|---|
| Soft gel polish | 15–30 minutes | Most common, acetone-soak removal |
| Builder gel (soak-off) | 25–45 minutes | Often thicker, needs more soak time |
| Hard gel | Not recommended at home | Usually needs to be filed by a pro |
Common Mistakes That Damage Nails (And What To Do Instead)
These are the biggest reasons nails feel weak after gel.
Peeling Or Picking The Gel Off
Peeling lifts layers of your natural nail with it. Even if it comes off “clean,” it often causes thinning and peeling later.
Instead, always soak and gently push off only what is already loosened.
Over-Filing Before Soaking
Filing too much removes your nail plate, not just the gel top coat. This leads to soreness and bendy nails.
Instead, file only until the shine is gone.
Scraping Hard With Metal Tools
Metal pushers can easily gouge the nail surface if gel isn’t fully softened.
Instead, use a wooden stick or a softer pusher and re-soak when needed.
Skipping Aftercare
Acetone is drying. Without oil and moisture, nails can become brittle.
Instead, use cuticle oil daily for at least a week after removal.
What If You Don’t Have Foil Or Nail Clips?
You can still do a soak-off method.
Warm Bowl Method (Works But Can Be Drying)
Pour acetone into a small bowl (glass or ceramic). Place that bowl into a larger bowl of warm water to gently warm the acetone (never microwave acetone). Soak fingertips for 10–15 minutes, then push off softened gel.
This method can be more drying and messy, but it works in a pinch. Moisturize well afterward.
How To Tell If You’re Damaging Your Nails
Stop and change your approach if you notice:
- Burning or sharp pain while pushing gel off
- Redness, swelling, or heat around the nail
- Nails that feel sore for days afterward
- White, rough patches from over-filing
If your nails are very painful or the skin looks infected, it’s safer to see a professional.
Aftercare Tips To Keep Nails Strong
Removal is only half of the process. Aftercare helps your nails recover and reduces peeling.
Use Cuticle Oil Daily
Apply oil 2–3 times a day for at least a week. Focus on the cuticle area and the underside of the nail tip.
Moisturize After Every Hand Wash
Hand soap strips oils too. A simple hand cream routine helps nails stay flexible instead of brittle.
Take A Short Break If Your Nails Feel Thin
If your nails feel bendy, sore, or look peeled, take a break from gel for 1–2 weeks. Keep nails shorter during that time to prevent breakage.
Consider A Gentle Strengthener (Not Heavy Hardening)
A light strengthening base coat can help. Avoid very harsh “hardener” products if your nails are already dry and peeling, because they can make nails snap.
Do’s And Don’ts For Safe Gel Removal
| Do | Don’t |
|---|---|
| File only the shine off the top coat | File until your nail feels thin |
| Soak in 100% acetone and be patient | Peel, pick, or “rip” gel off |
| Re-soak nails that resist | Force gel off with scraping |
| Use cuticle oil and cream after | Skip moisture and wonder why nails peel |
| Get hard gel removed by a pro | Try to soak off hard gel at home |
When It’s Better To See A Professional
At-home removal is fine for soft gel polish, but it’s best to go to a salon if:
- You have hard gel, dip powder, or thick builder gel and you’re unsure what it is
- You have cracks, lifting, or green discoloration under the product
- Your nails are sore, splitting, or extremely thin
- You have a history of skin reactions to nail products
A good nail tech can remove product with minimal damage and help you reset your nail health.
Conclusion
Learning how to remove gel nails without damaging nail bed comes down to two things: patience and gentle technique. File only the top shine, soak long enough for the gel to loosen, and never force product off. If a nail resists, re-soak it instead of scraping.
Once the gel is off, treat your nails like skin that needs moisture. Cuticle oil, hand cream, and a short break when needed will keep your nails smooth, strong, and ready for your next manicure.
