
Removing acrylics can feel like a fresh start—until you look at your natural nails and see peeling, thin spots, or soreness. That’s common, but it doesn’t mean your nails are permanently damaged. With the right care, most nails recover well over time.
This guide on how to take care of nails after removing acrylics covers what to do right away, what to avoid, and an easy routine that supports healthier regrowth.
What happens to your natural nails after acrylics?
Your natural nail is made of layers of keratin. Acrylics don’t automatically “ruin” nails, but the prep and removal process can stress those layers, especially if there was heavy filing or any peeling/picking.
Common changes you may notice
After removal, you might see:
- Thin, bendy nails
- Peeling at the tips
- Rough texture or ridges
- Dry cuticles and surrounding skin
- White spots (often from dehydration or minor trauma)
Read More: How to Remove Gel Nails Without Damaging Nail Bed?
Why nails can feel thin or sore
Nails may feel sensitive because of:
- Over-filing during prep or removal
- Acrylic being pulled off (which removes nail layers)
- Acetone drying out the nail plate and skin
- Pressure on the nail bed from long wear or lifting
What to do in the first 24 hours
The first day is about calming your nails down and preventing breaks.
Clean and inspect your nails
Wash your hands with mild soap and dry well. Check for:
- Deep cracks
- Redness, swelling, or warmth
- Green discoloration (can happen if moisture was trapped under lifting product)
If anything looks unusual or painful, avoid covering it with polish and consider a professional check.
Trim, file, and smooth safely
Keeping nails short right now helps prevent tearing.
- Clip to a comfortable short length
- Use a fine-grit file (around 180–240 grit)
- File gently, preferably in one direction
- Smooth snags so they don’t catch on hair or fabric
Take a short break from polish if nails feel irritated
If nails feel hot, sore, or extremely dry, going bare for a day can help so you can oil and moisturize often. If you prefer polish, stick to a gentle base coat (more below).
A simple daily routine to help nails recover
Consistency matters more than expensive products. A few minutes a day makes a real difference.
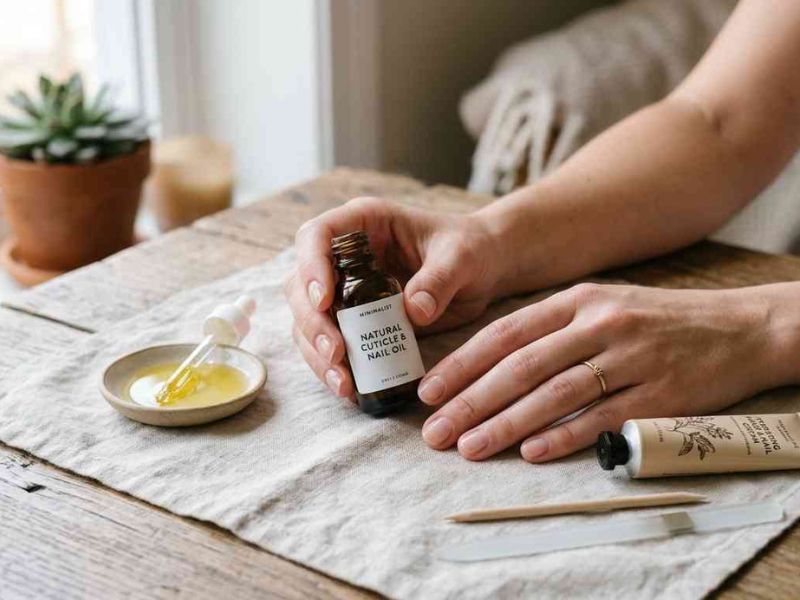
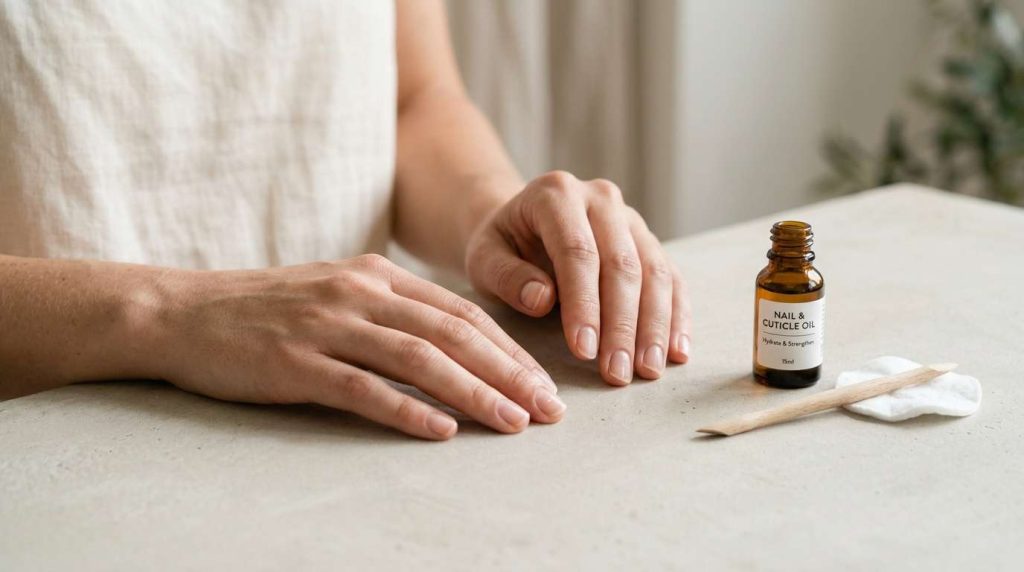
Use cuticle oil every day
Cuticle oil helps the nail plate stay flexible, which reduces peeling and splitting.
- Apply 2–4 times a day for the first two weeks
- Reapply after handwashing
- Apply before bed (most important)
Oils like jojoba and vitamin E are popular for a reason—they’re simple and effective.
Moisturize your hands and seal at night
Acrylic removal often leaves nails and skin dehydrated.
At night:
- Apply cuticle oil
- Apply a rich hand cream
- Optional: seal with a thin layer of ointment on cuticles and nail tips
If your hands are very dry, cotton gloves overnight can help lock in moisture.
Protect nails from water and cleaning chemicals
Repeated soaking and drying can make nails peel because they expand and contract.
- Wear gloves for dishes and cleaning
- Avoid long hot soaks for the first couple of weeks
- Use gentler soaps if your skin feels irritated
Keep nails short while they rebuild
Short nails are less likely to snag, split, or bend painfully. Once peeling slows and the tips feel stronger, you can grow them gradually.
Strengthening nails without causing more damage
The goal is support and protection—not making nails so hard they snap.
Choose a gentle strengthening option
A protective base coat can help reduce snagging and splitting.
Good options include:
- Ridge-filling base coats (help smooth rough texture)
- Gentle strengthening base coats
- Clear protective top coats that you reapply regularly
If something stings, burns, or makes nails feel extra brittle, stop using it.
Avoid heavy buffing and over-filing
Buffing can make nails look smoother, but it also removes layers. If your nails are already thin, aggressive buffing usually makes recovery slower.
Helpful tables for easy nail recovery
Post-acrylic nail care checklist
| Habit | How often | Why it helps |
|---|---|---|
| Cuticle oil | 2–4x daily | Reduces dryness and peeling |
| Hand cream | After washing + bedtime | Restores moisture barrier |
| Gloves for cleaning/dishes | Every time | Prevents splitting and thinning |
| Gentle filing | 1–2x weekly | Stops snags from turning into breaks |
| Short length | 2–4 weeks | Protects weak nail edges |
Do vs. don’t after removing acrylics
| Do | Don’t |
|---|---|
| Keep nails short temporarily | Pick or peel leftover product |
| File gently with a fine grit | Buff aggressively to “fix” damage |
| Oil cuticles daily | Soak nails often in hot water |
| Wear gloves for chores | Use nails as tools (prying/scraping) |
| Patch small splits early | Ignore snags that keep catching |
How to handle peeling, splitting, and rough texture
Most post-acrylic issues show up at the free edge (the tip). Small changes in care can prevent bigger breaks.
How to manage peeling layers
- Keep nails short until peeling settles
- File the edge lightly to remove lifting bits (don’t rip them)
- Use cuticle oil often
- Add a protective base coat to reduce friction
How to deal with splits and snags
For a small split:
- Trim carefully if possible
- File smooth so it won’t catch
- Consider a temporary patch (silk wrap or similar)
- Seal with a clear coat until it grows out
If a split is deep, painful, or bleeding, don’t glue it at home—get professional help.
When buffing helps and when it hurts
- Skip buffing for 2–3 weeks if nails feel thin
- If you buff, do it lightly with a fine buffer and minimal pressure
- Never buff to “remove peeling”—peeling needs moisture and protection, not thinning
How long does it take nails to recover after acrylics?
Recovery time varies, but most people see steady improvement with consistent care.
Typical recovery timeline
| Time after removal | What you may notice | What to focus on |
|---|---|---|
| 1–3 days | Dryness, tenderness, roughness | Oil, cream, short nails, gloves |
| 1–2 weeks | Less soreness, fewer snags | Gentle filing, protective base coat |
| 3–6 weeks | Stronger tips, less peeling | Keep routine consistent |
| 2–4 months | Major improvement as new nail grows | Protect and trim regularly |
| 4–6 months | Near-full grow-out for many | Maintain habits, go gentle with enhancements |
When to see a professional
Sometimes it’s more than dryness or thinning.
Possible infection or allergic reaction
Get help if you notice:
- Increasing redness, swelling, warmth, or throbbing pain
- Pus, strong odor, or worsening tenderness
- Itchy rash around nails (possible allergy to products)
Discoloration or lifting
Green, yellow, or spreading discoloration, or a nail lifting from the nail bed, should be assessed. Avoid covering it with enhancements, since trapping moisture can make problems worse.
How to return to acrylics (or alternatives) more safely
You don’t have to give up enhancements forever, but timing and technique matter.
Gentler options to consider
- Short gel polish with careful removal
- Press-ons with adhesive tabs for occasional wear
- A natural manicure with shaping and protective base coat
What to ask for next time
- Minimal filing of the natural nail
- Safe soaking and removal (no peeling)
- Practical lengths that reduce lifting and stress
- Clean tools and good salon hygiene
Conclusion
Knowing how to take care of nails after removing acrylics comes down to moisture, protection, and patience. Keep nails short, oil them daily, protect them from water and harsh chemicals, and avoid over-buffing.
As healthier nail grows in, the damaged parts will slowly get trimmed away—and your nails can look and feel strong again.
